Microsoft Outlook is a massively popular service for sending emails in a business setting. Companies of all sizes can take advantage of the advanced communication features available in the software. Of course, professionalism is paramount when sending messages to your boss or colleagues.
An effortless way to display a professional tone is to add your personal signature to important emails you send to other people in the office. The process is incredibly easy and is achieved in just a few steps. Afterward, your custom signature will automatically appear in the emails you send. If you do not want to sign each message, you can also leave your mark on a case-by-case basis.

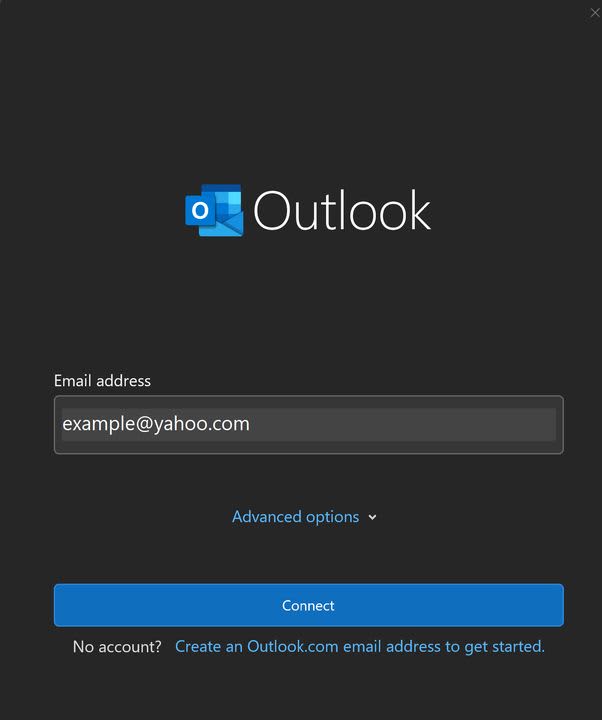
Logging in to Outlook
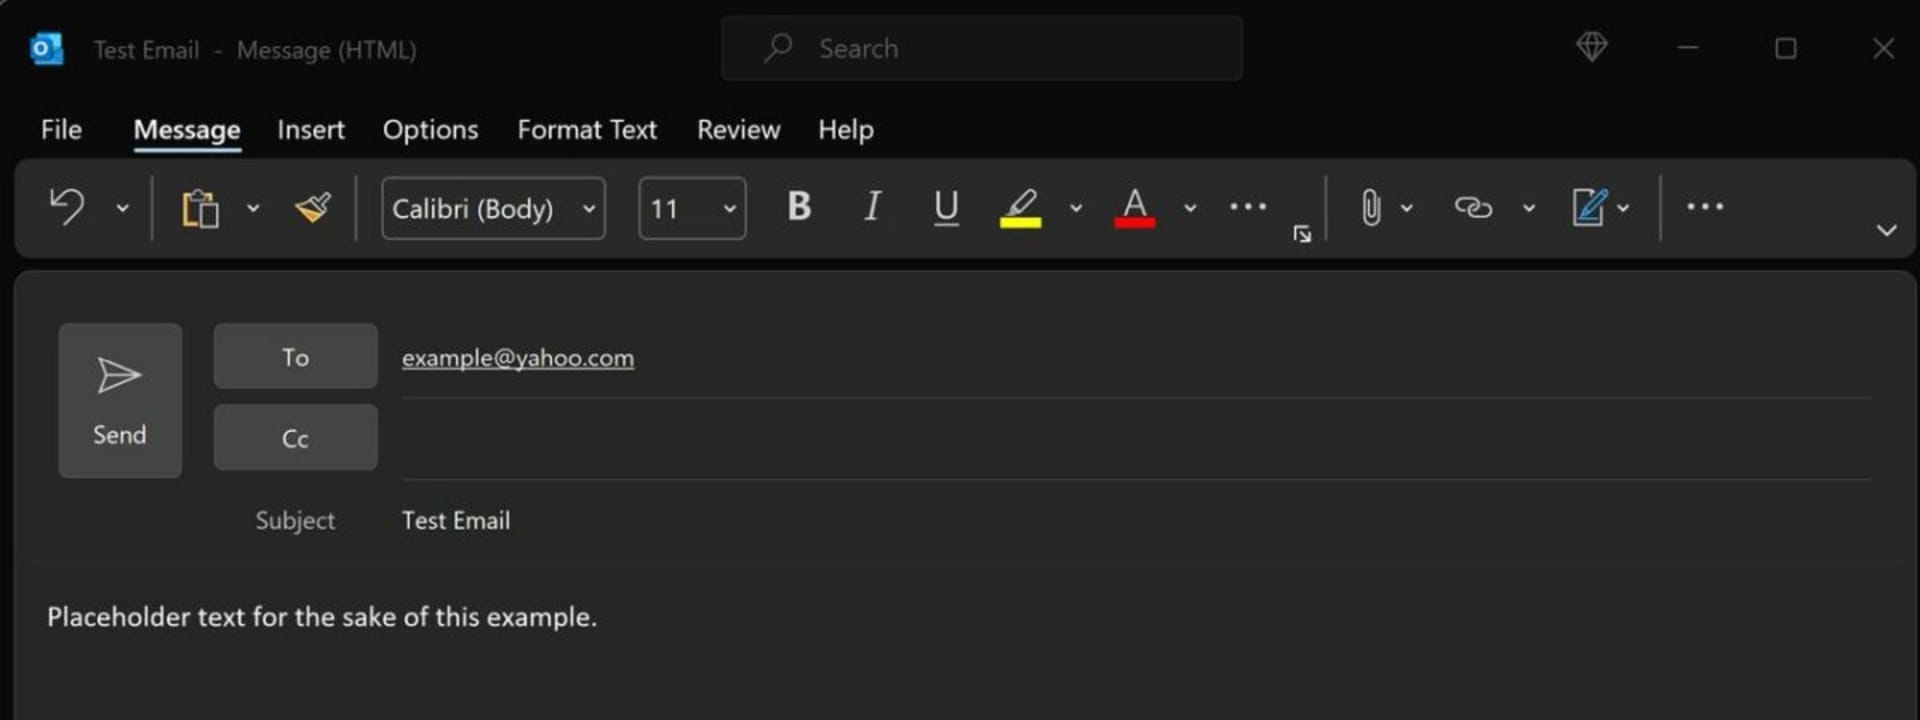
Successfully logging in will result in Outlook’s home screen appearing. You will need to draft an email before adding your signature to it. To create a new message, click on the “New Email” button to open a new window for your message. The new window works just like any other email application. Select your recipient, title the message, and say your piece in the body field.
Drafting your email
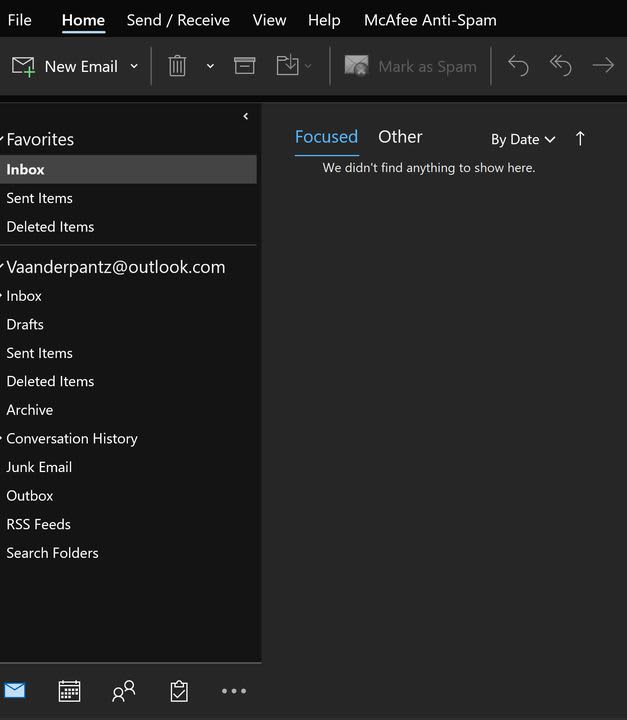
Successfully logging in will result in Outlook’s home screen appearing. You will need to draft an email before adding your signature to it. To create a new message, click on the “New Email” button to open a new window for your message. The new window works just like any other email application. Select your recipient, title the message, and say your piece in the body field.
Adding a signature to your message
Upon drafting your email, there is simply the matter of signing it before the sendoff. To do this, you will need to ensure the messages tab is selected at the top of the screen. On the far right of the message toolbar is the signatures button. Click the pen and paper icon to open the signature options screen. If there is no data on this panel, click on signatures to make your first one.
In the new window that appears, locate the box labeled “select signature to edit.” Since this is your first signature, the box should be empty. Click the new button to sign your name. Type whatever you desire into the field though leaning toward professionalism is recommended.
Editing signatures and advanced functionality
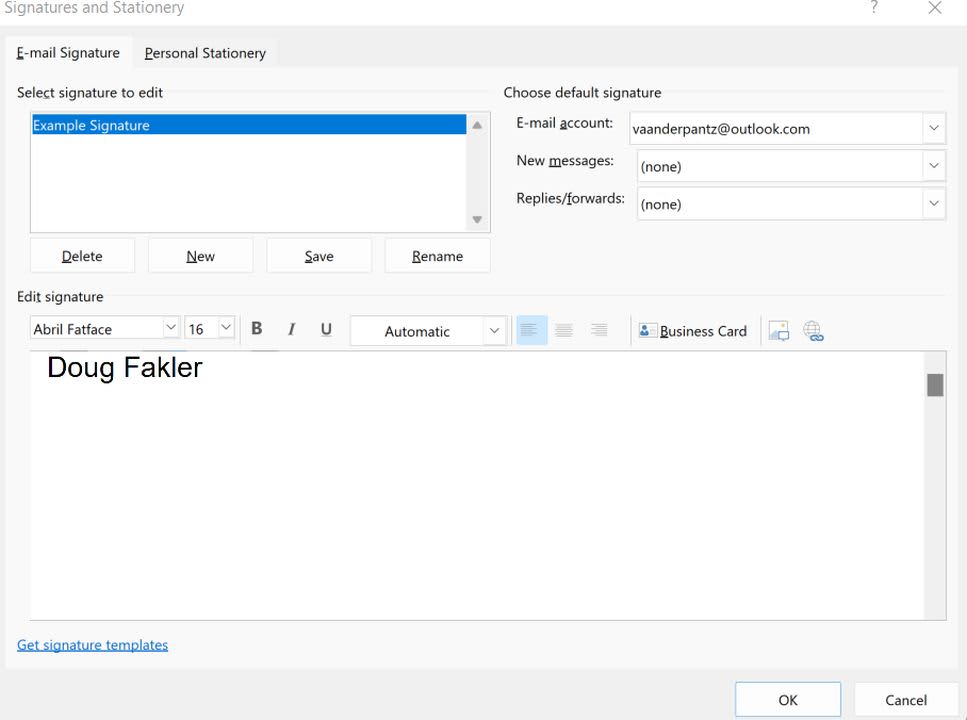
Outlook allows you to add way more to your signature than only plain text. You can add images, a business card, a logo, or even your personal handwriting. Click on edit signature and select the name you created in the previous step. This screen allows you to adjust font size, color, and all the word processor bells and whistles you have come to expect in modern software. Copying robust text from another program can help you with formatting bullet points and other complex strings.
This same screen allows you to add logo images or business cards to your signature. Click on insert and select images to choose a picture from your device. Or click the business cards button to add a scan of your physical documents.
Selecting signature frequency
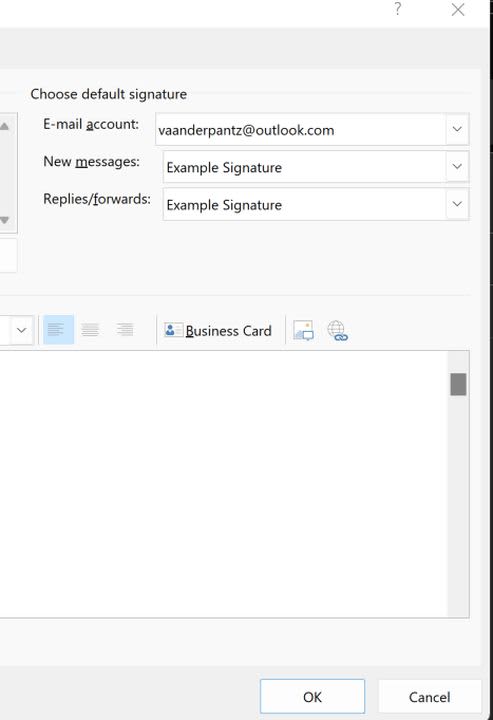
With a signature selected, you can set how often it applies to the emails you send. To the right of the edit signatures box are the email settings. Ensure your desired account is listed in the top box. Then, select what happens with new emails and replies/forwarded messages. The (none) option will keep the signature off by default. Otherwise, click on your desired signature template for both new messages and replies.
Another option for emails
If you prefer not to create a Microsoft account or pay for the subscription service, there are free alternatives for sending your emails. For instance, Mozilla Thunderbird has taken the world by storm thanks to its ease of use and low barrier to entry. To learn more, read our guide on how to set up end-to-end encryption for Thunderbird emails accounts.